10 Easy DIY Home Projects You Can Finish in a Weekend
If you’ve been wanting to refresh your home without committing to a full renovation, a weekend is often all you need.
The key is choosing projects that are simple, high-impact, and don’t require specialized skills or expensive tools.
Here are 10 DIY home projects you can realistically complete in two days or less.
---
Home improvement doesn’t have to mean demolition, expensive contractors, or long timelines. A lot of meaningful upgrades can be done in a weekend with basic tools, a bit of patience, and a clear plan.
This guide breaks each project down so you know:
* What you need
* What to do step-by-step
* Common mistakes to avoid
* How to get a clean, professional-looking result
---
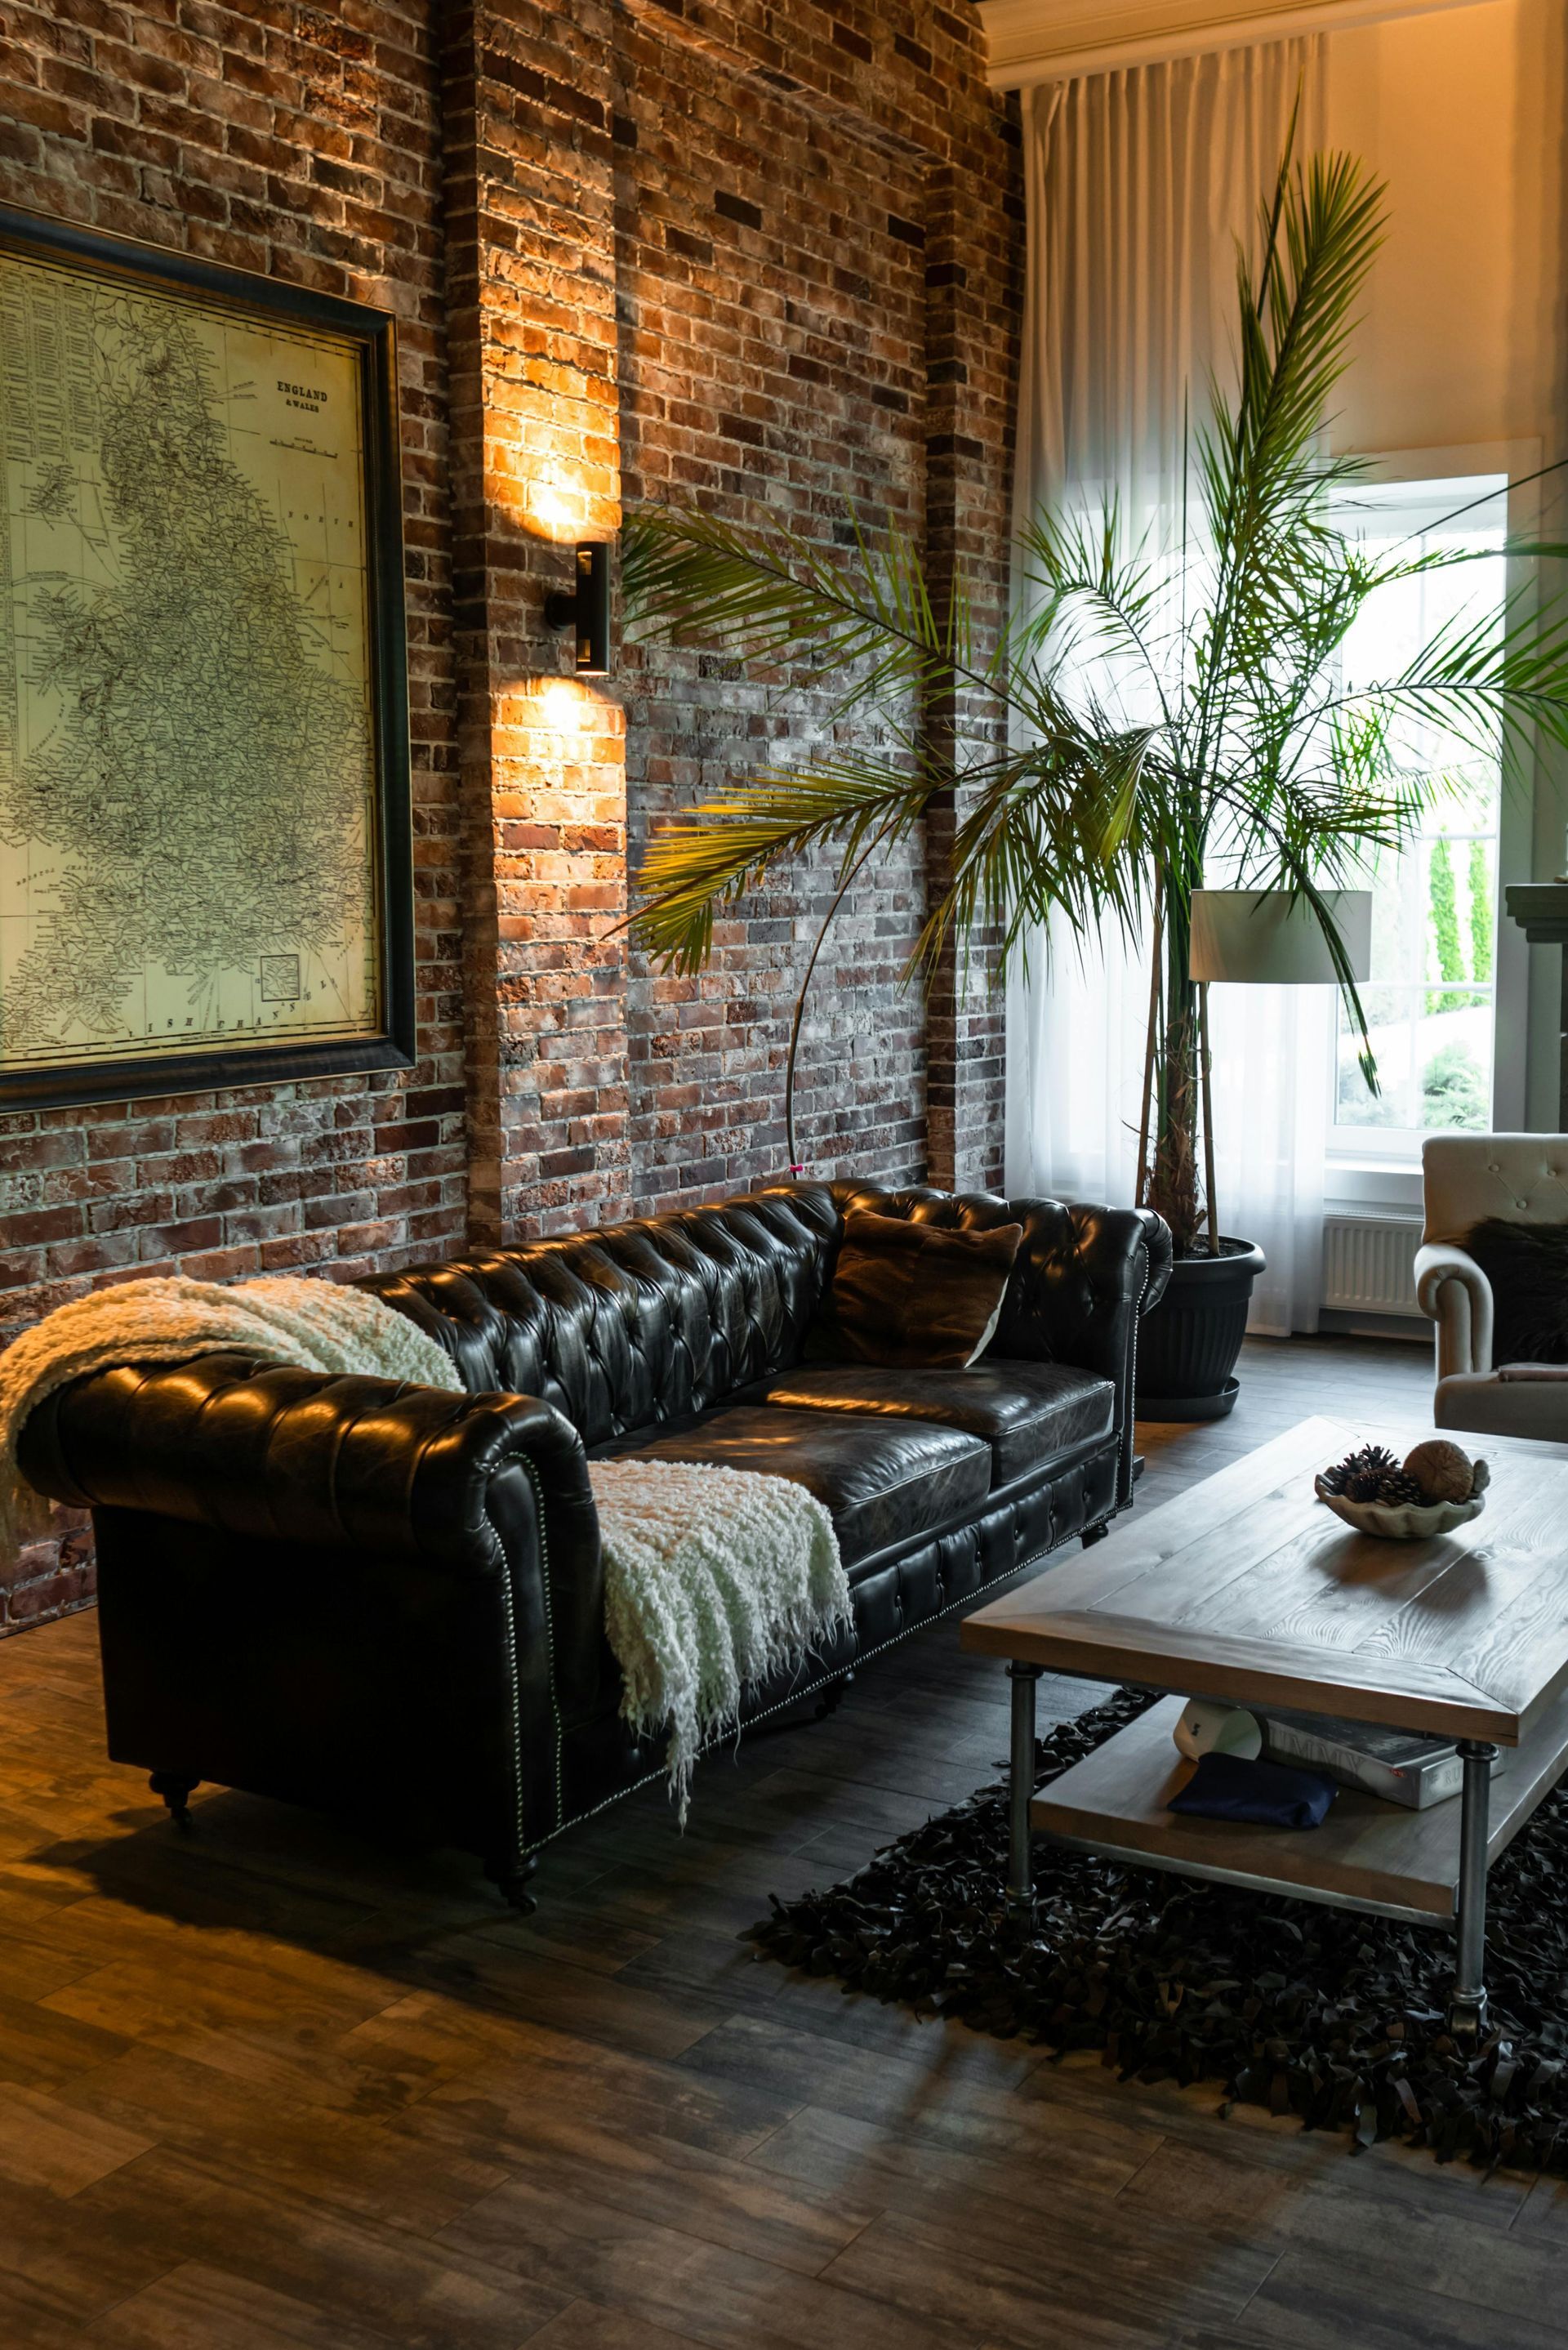
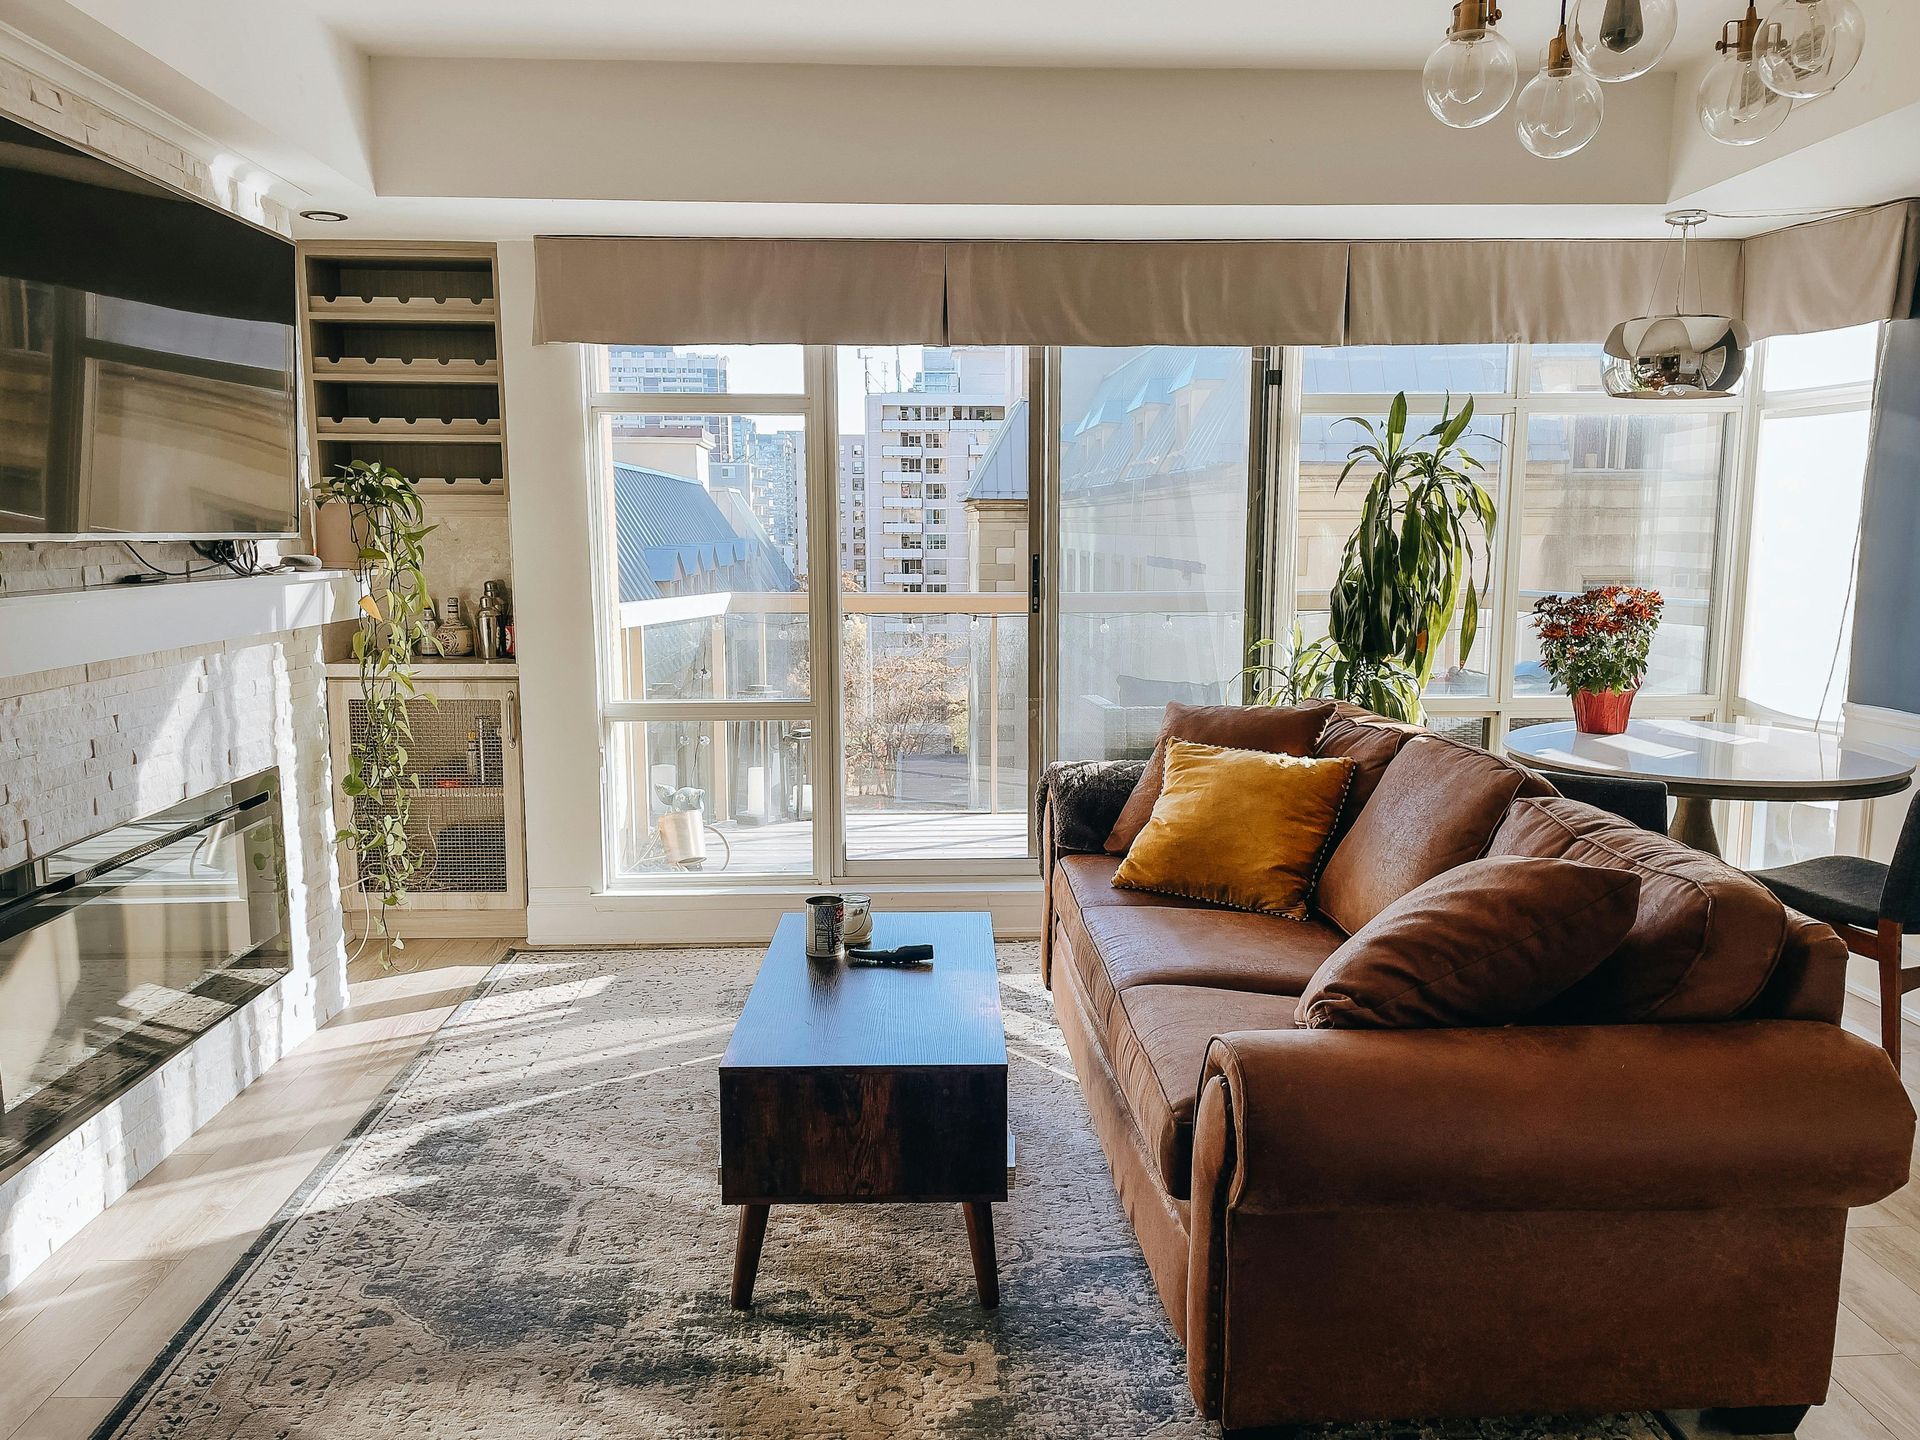
1. Paint an Accent Wall
Why do it: Instant room transformation with minimal effort.
What you’ll need:
* Interior paint (sample first if unsure)
* Painter’s tape
* Roller + tray
* Angled brush (for edges)
* Drop cloth
* Sandpaper (optional)
Steps:
1. Choose the wall carefully. Pick a natural focal point—behind a bed, sofa, or TV.
2. Prep the surface. Wipe dust or grease off the wall. Lightly sand uneven areas if needed.
3. Tape edges. Use painter’s tape along trim, ceiling lines, and corners for clean edges.
4. Apply primer (if needed). Especially important if you’re going from dark to light colors.
5. Paint in sections. Use a roller for large areas and a brush for edges.
6. Apply a second coat. Most walls need 2 coats for even coverage.
Tips:
* Don’t overload the roller. Thin, even layers look better.
* Remove tape before the paint fully dries to avoid peeling.
---
2. Install Floating Shelves
Why do it: Adds storage without bulky furniture.
What you’ll need:
* Floating shelf kit
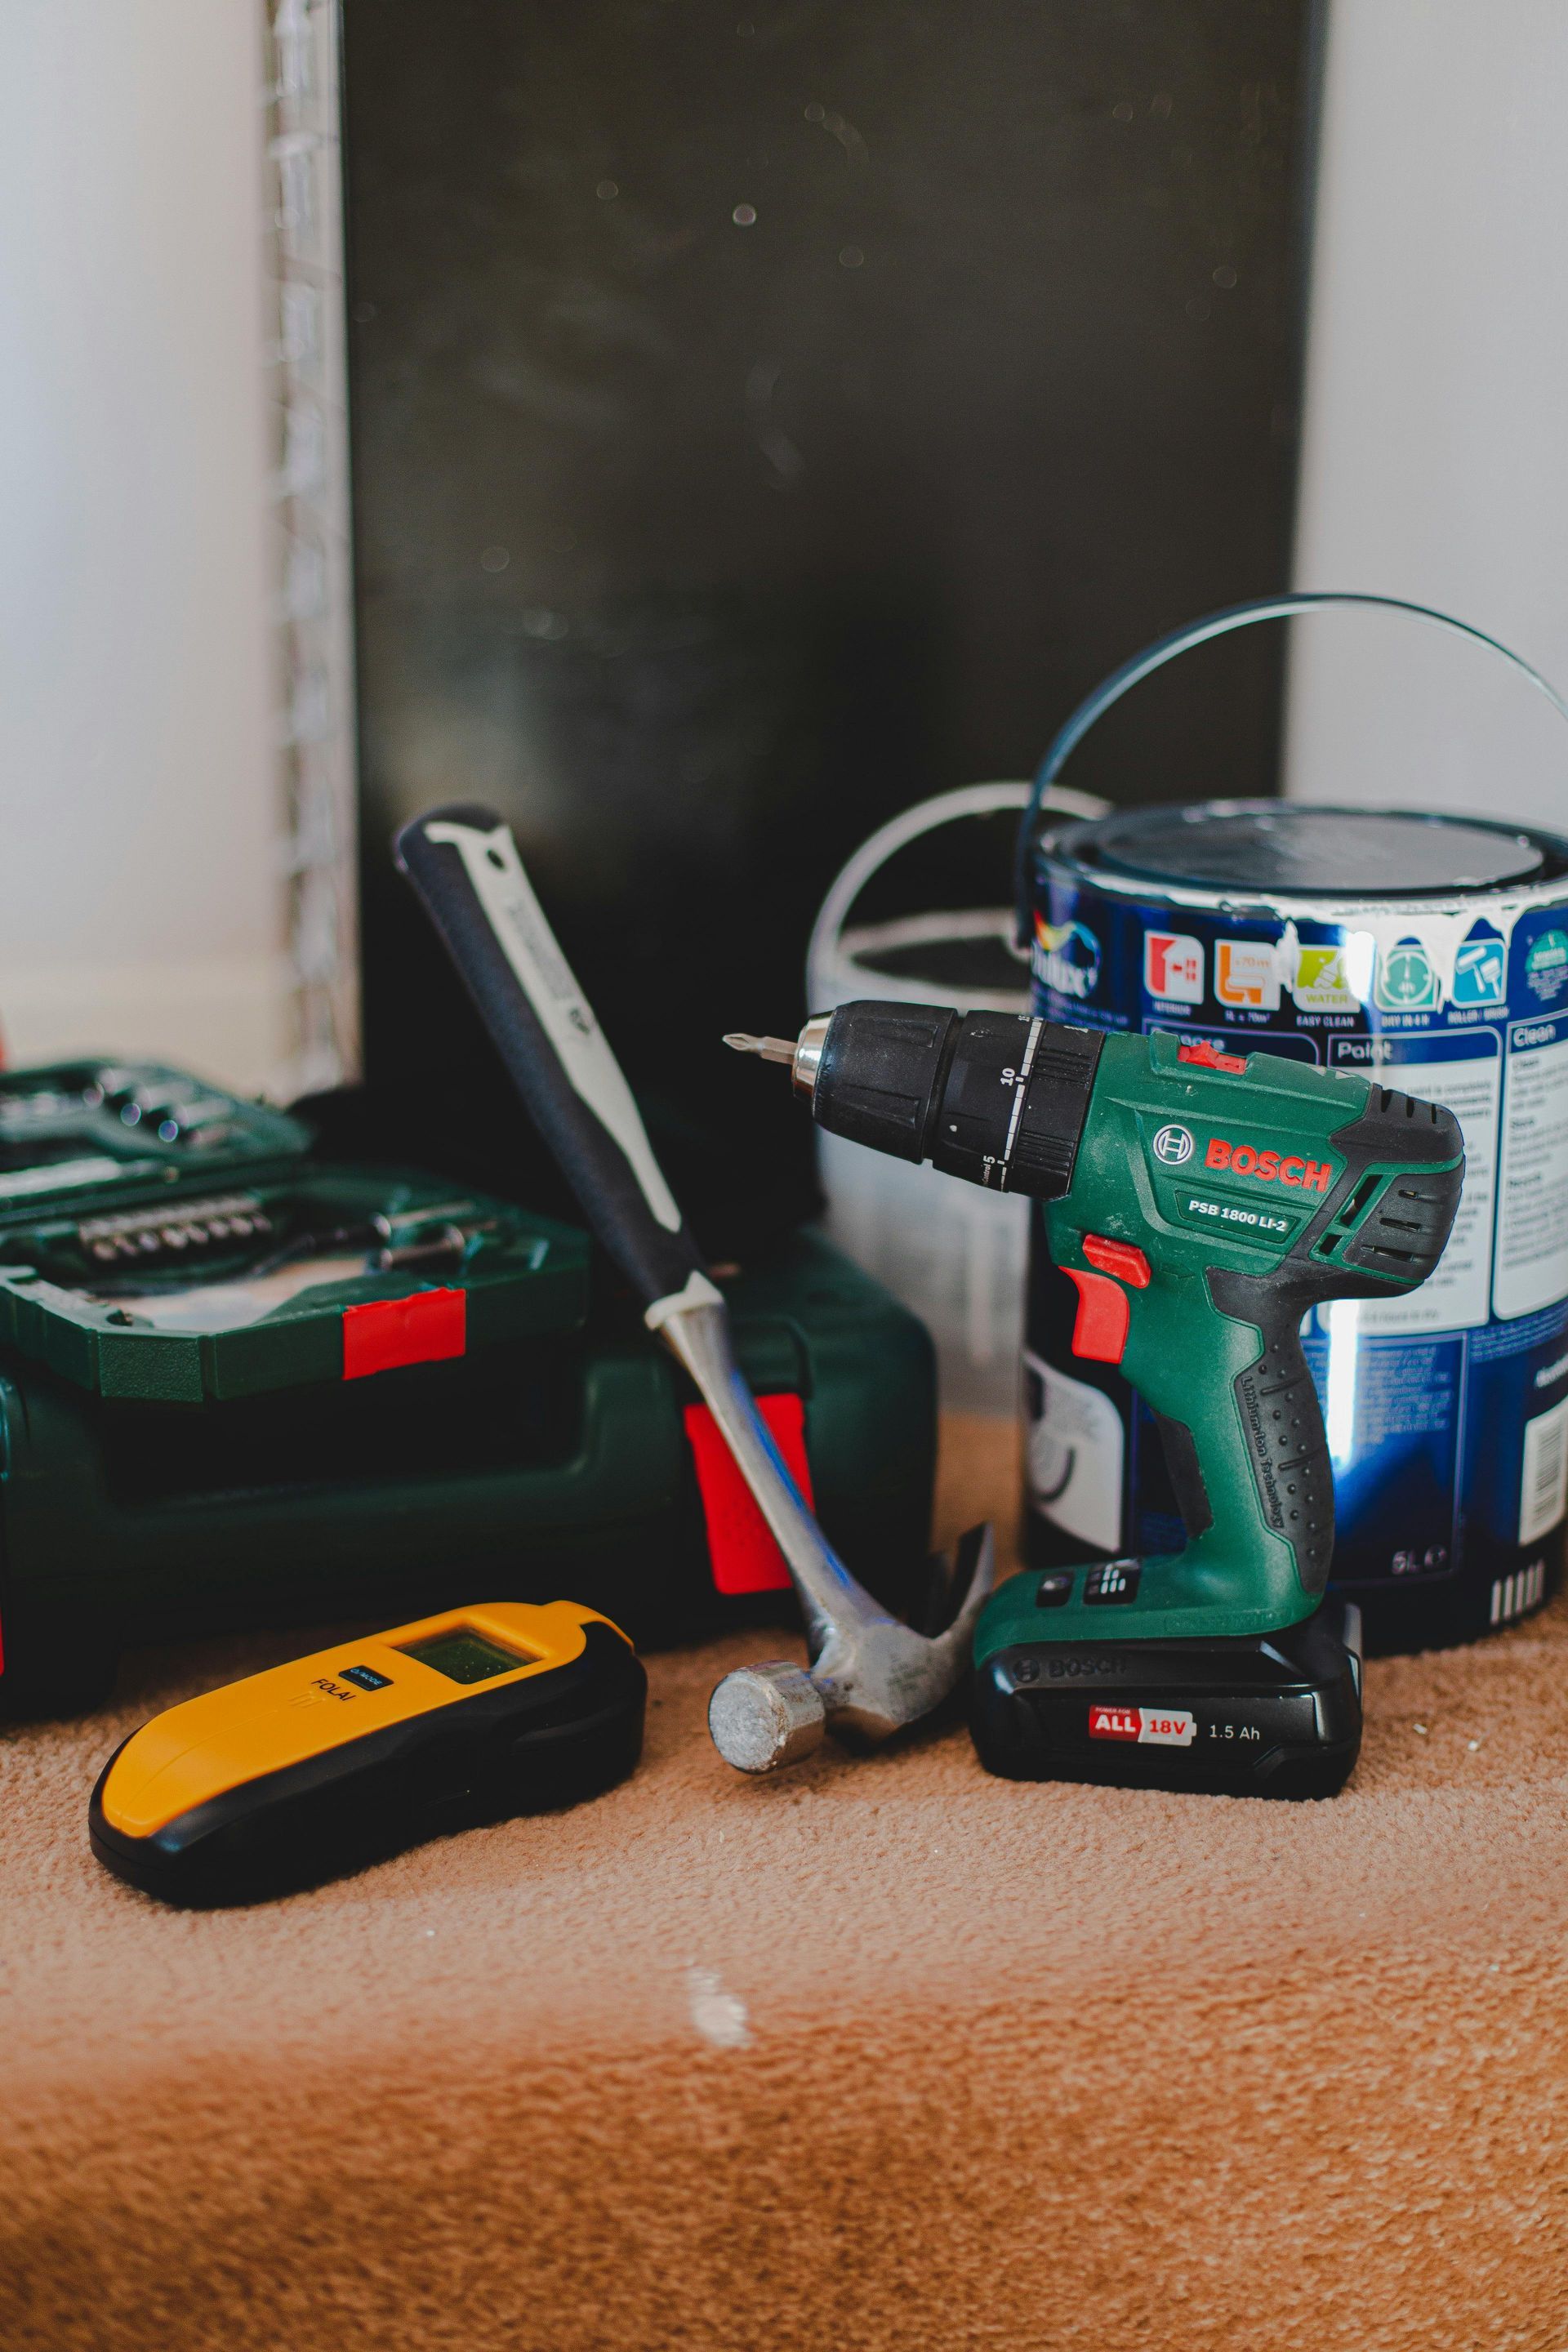
* Drill + drill bits
* Level
* Stud finder
* Screws + wall anchors
Steps:
1. Choose placement. Eye-level works best for décor; lower for storage.
2. Find studs. Use a stud finder for strong mounting points.
3. Mark your holes. Use a level to ensure shelves won’t tilt.
4. Drill pilot holes. Helps prevent wall damage.
5. Install brackets. Secure tightly into studs or anchors.
6. Attach shelves. Double-check level before final tightening.
Tips:
* Avoid overloading shelves unless properly anchored.
* Style them with a mix of books, plants, and negative space.
---
3. Upgrade Cabinet Hardware
Why do it: Quick aesthetic upgrade with big impact.
What you’ll need:
* New knobs or handles
* Screwdriver
* Measuring tape (if replacing handles with different spacing)
Steps:
1. Remove old hardware. Unscrew knobs or handles from inside cabinet doors.
2. Check hole spacing. Especially important for drawer handles.
3. Install new hardware. Align and tighten screws.
4. Check alignment. Make sure everything looks consistent across cabinets.
Tips:
* Matte black, brushed nickel, or brass are timeless finishes.
* Buy extras in case a screw strips or breaks.
---
4. Build a Simple Entryway Organizer
Why do it: Eliminates clutter right where it starts.
What you’ll need:
* Wooden board or panel
* Hooks (coat or utility hooks)
* Drill
* Screws
* Level
Steps:
1. Pick a wall near the entrance.
2. Decide layout (hooks + shelf if desired).
3. Mark positions evenly.
4. Attach hooks or mount board.
5. Secure to wall studs if possible.
Tips:
* Add a small tray or basket for keys.
* Keep it simple—too many hooks reduces usability.
---
5. Install Peel-and-Stick Backsplash
Why do it: High-end look without tile work.
What you’ll need:
* Peel-and-stick tile sheets
* Utility knife or scissors
* Measuring tape
* Level
* Clean cloth
Steps:
1. Clean wall thoroughly. No grease or dust allowed.
2. Measure area carefully.
3. Start from a straight edge.
4. Peel backing slowly.
5. Press firmly as you apply.
6. Trim edges with utility knife.
Tips:
* Don’t stretch tiles during application.
* Work slowly—alignment matters more than speed.
---
6. Refresh Interior Doors
Why do it: Subtle upgrade that improves entire room feel.
What you’ll need:
* Paint or wood stain
* Sandpaper
* Screwdriver (for hardware)
* Drop cloth
Steps:
1. Remove door if possible.
2. Take off handles and hinges.
3. Sand surface lightly.
4. Clean dust thoroughly.
5. Apply paint or stain in thin coats.
6. Let dry fully before reassembly.
Tips:
* Semi-gloss paint is durable and easy to clean.
* Consider updating knobs at the same time.
---
7. Install Smart Home Devices
Why do it: Convenience + energy efficiency.
What you’ll need:
* Smart thermostat or smart plugs
* Smartphone app
* Screwdriver (for thermostats)
Steps:
1. Turn off power (for thermostat).
2. Remove old device carefully.
3. Follow wiring instructions exactly.
4. Connect to app via Wi-Fi.
5. Test functionality.
Tips:
* Double-check compatibility before buying.
* Label wires before disconnecting anything.
---
8. Create a Vertical Herb Garden
Why do it: Functional décor + fresh cooking ingredients.
What you’ll need:
* Small pots or wall planters
* Potting soil
* Herbs (basil, mint, parsley)
* Wall mounts or shelf system
Steps:
1. Choose a sunny wall or window area.
2. Mount planters securely.
3. Fill with soil.
4. Plant herbs.
5. Water lightly and regularly.
Tips:
* Don’t overwater—most herbs prefer slightly dry soil.
* Rotate plants for even sunlight exposure.
---
9. Re-Caulk Bathroom or Kitchen Fixtures
Why do it: Improves cleanliness and prevents water damage.
What you’ll need:
* Caulk remover tool or blade
* Silicone caulk
* Caulking gun
* Painter’s tape
* Paper towels
Steps:
1. Remove old caulk completely.
2. Clean and dry the area.
3. Apply painter’s tape for clean lines.
4. Cut caulk tube tip at angle.
5. Apply steady bead along seam.
6. Smooth with finger or tool.
7. Remove tape before drying.
Tips:
* Work in small sections.
* Keep a wet cloth nearby for cleanup.
---
10. Create a Gallery Wall
Why do it: Personalizes your home instantly.
What you’ll need:
* Frames (mixed sizes)
* Art/photos/prints
* Tape measure
* Level
* Painter’s tape or paper templates
* Nails or wall hooks
Steps:
1. Lay layout on the floor first.
2. Decide spacing (2–3 inches is common).
3. Trace frames on paper for wall planning.
4. Tape templates to wall.
5. Adjust until layout feels balanced.
6. Hammer nails through marked points.
7. Hang frames and adjust alignment.
Tips:
* Mix photos, art, and textures for depth.
* Keep one unifying element (color, frame style, or theme).
---
Final Thoughts
These projects work because they’re small enough to finish, but meaningful enough to feel like real upgrades. The key isn’t perfection—it’s consistency and attention to detail.
Start with one project that fits your time and comfort level. Once you complete one, the rest become much easier to approach.